 Easy Ways to Boost Performance Android Phone
Have a cell phone or Android tablet is very nice. Various applications can be
installed easily and quickly escape. Free too, but after using for a long time, many users who felt Android devices run slower.
As an intelligent device, phone or Android tablet armed by the processor is responsible for maintaining
the performance and stability of
the device during use, besides
of course respond to the commands we give. Then there is also
the role of memory (internal) needed to keep a cache of the tasks we have given earlier, the device is easier if we repeat the same command at a later time. Well, usually when the performance of the device begins to seem slow, the second component is to blame.
So how do I fix this? I will give some solutions you can try.
1.
Reset DeviceFor information, applications or games installed Android uses more memory if it is installed. That is, if you
download a 10 MB application from the Android Market, then once installed unused memory capacity can be 20 MB or even more.
As a result, HPs performance to be slowed down or even cause HP to hang. When andamengalami full HP memory problems, then here are some tips to overcome them.
Or use the conventional way, ie go into the settings, select the application and management applications. There is usually some local groups such as the application is downloaded, contained in a memory card, which is running, etc.. depending on the device you use. Choose one of the applications currently running. There will be several options such as the Force Stop (Forced off), or Clear Data if your chosen application is a Browser. But remember, some features can not be turned off because it can lead to instability of the device.
Well, because Android phones capable of running multitasking, it is necessary to note also that scattered widgets on your homescreen. The more and animated, then the performance of your device will also be increasingly depleted. So is the use of Live Wallpapers. So, if your device does not have a high specification, consider using only the standard wallpaper.
2.
Use ApplicationThere are some applications that can be used to adjust automatically when the memory is on the verge of capacity limits. One is Optimus Root Artificial Memory Optimizer Soapbox Apps. This application aims to improve system performance and battery life by adjusting the internal memory setting Android.
a.
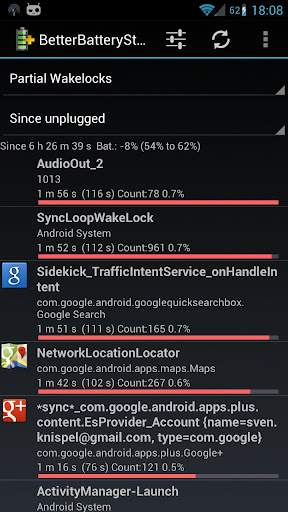
Optimus Root Memory OptimizerOptimus Root Memory Optimizer automatically kills applications
running in the background when system memory falls below a certain threshold. That is, the application will free up memory more aggressively thereby increasing system performance. This application provides three different settings are Moderate, Balanced and Extreme.
b.
Advanced Task KillerThis application can be quite simple because once you get into it, will be immediately visible applications that are running. Live where you want to mark off, select "KILL selected apps" and OK! This application can also be set to auto start.
c.
App 2 SDOne reason the phone is running slow is too many applications installed on internal memory. If you have a large capacity memory card, while your tools can not automatically install on external memory, simply use the application is made by Sam Lu. Transfer applications are installed on the device, but with a note that you use at least Android is Froyo (v2.2).
d.
Dr saver + a Task KillerApplications for performance management and mengkatkan battery on Android. Yes as the name suggests has a function as an application in order to save battery Android. This application has features such as: provide convenience to the user to terminate the application and reset the phone quickly and easily fast. Displays the battery status, including temperature, time to talk and various other battery information. Well, to improve battery performance applications the user must turn off the useless or not being used. There are several options at the end applications that can directly such as management of screen brightness, volume settings, indicator wifi, gps, bluetooth, Auto-sync.
e.
ES File ExplorerES File Explorer is a
file manager application that has a proper function for the android phone you have. This application has many functions such as file manager: Copy, Paste, Cut / Move, Create, Delete and Rename, Share / Send. Just like on the computer, set the application as well as backup, compress and Decompress ZIP files, Unpack RAR files, display a variety of photo formats,
documents and video, as a media viewer and text editor, search for media files and many others.
However, of those applications that have been described, there is a great way for your hobby person who tinkers their smart devices, namely by doing root. But because it is quite risky, so now I only recommend ways are simple and safe to do. Hopefully useful.


 Download Here QR CODE